

I often wondered why on earth so many RV manufacturers design the outsides of their RVs with (IMHO) eye-sore, cringe-worthy swishes. I imagine that some people like them or even love them, but for this artist, they make me feel like something has ultimately gone wrong. For years I’ve been uncomfortable with the swishes that were on the exterior of my sweet Gypsy Rose.
Seven years after just sucking it up, I decided it was time to update her exterior. I braved it and embarked on a DIY paint job to cover up those swishy decals and to freshen up the exterior of Gypsy Rose. The beige of her body had become very chalky and sunburned and the decals were, just so icky-swishy. As an artist, I had no hesitation that what I was about to do would greatly improve the look and feel of the outside of my home. I just had to figure out the best way to approach it and what materials to use.

I loved the idea of painting right over the swishy decals and the logos. The logos were puffed up stickers that I knew would take on an interesting embossed look once painted over. The swishes would create the same effect but on a more subtle level. The idea of it was very appealing to me.
It also helped that any attempt to remove the logos and decals resulted in complete and utter frustration especially since my hands haven’t been functioning well for the past few years (more on the broken hands subject in a different article). So, the decision to move forward with painting over the decals and logos stuck.
Most people would think I was crazy if I told them I was going to hand-paint my RV, but after the job was done I would not hesitate to do it all over again. Besides, I wasn’t about to pay $15k for a professional paint job and I knew I’d be happy with my DIY one.
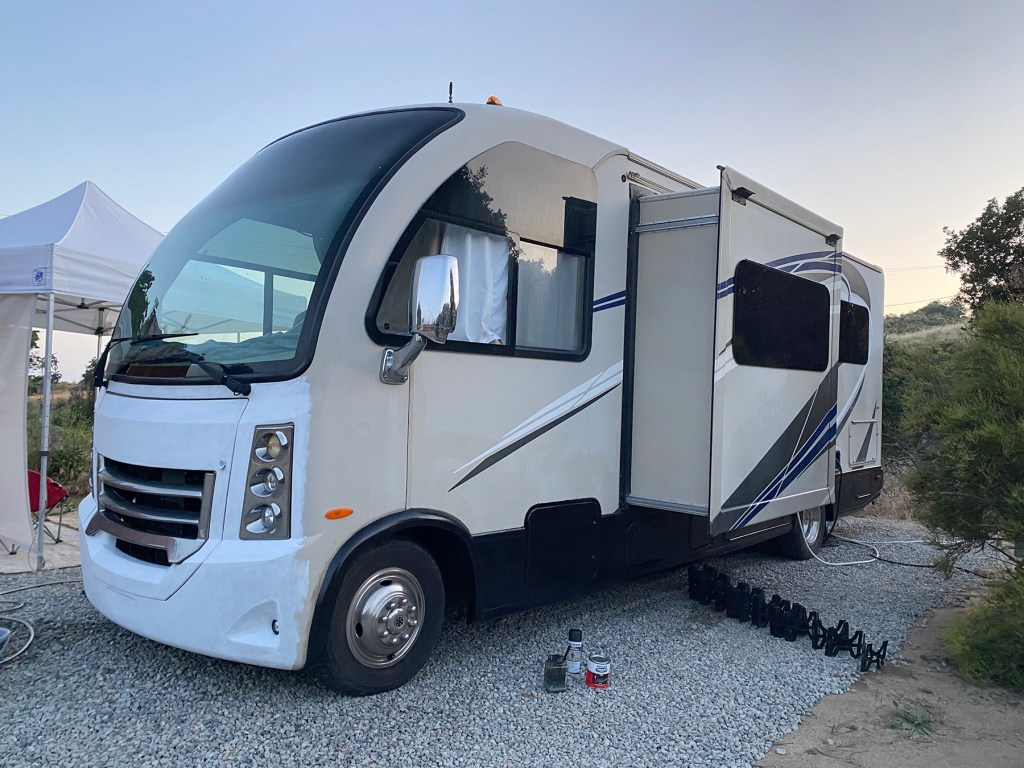

So how did I do it and what materials did I use? After experimenting with various paint colors, paint sheens, application tools, and more, I finally discovered that these materials worked best for my situation. * Note: not all RVs are made with the same exteriors so these materials may not work in your particular situation.
- Degreaser – to wash off the surface dirt and any oily spots after an initial washing.
- “Kilz” primer – I did not cover up the primer with white paint. What you see on the RV is simply 4 layers of Kilz! The super matte finish of Kilz primer is perfect for the job and because of the super matte finish it generally does not show paint “brush” strokes or texture especially since I used…
- Foam painting pads – the hand-held ones that are about 6″ long are great for the job and extremely efficient. After trying several types of applicators, this was by far the best and fastest way of covering large areas.
- Small bristled paint brushes – for edges and finer details. I used smaller brushes including flat top half-inch brushes to tiny pointed-tip art paint brushes to get into crevices and hard-to-get-to areas.
- Matte black house paint – for the lower band of black.
- Accent color house paint – I chose this dusty blue for my accent color and determined which doors I wanted to accent. And then I had some fun painting textures on the back side. In my artist eyes, it was a blank canvas just waiting to be turned into a fun creative project.
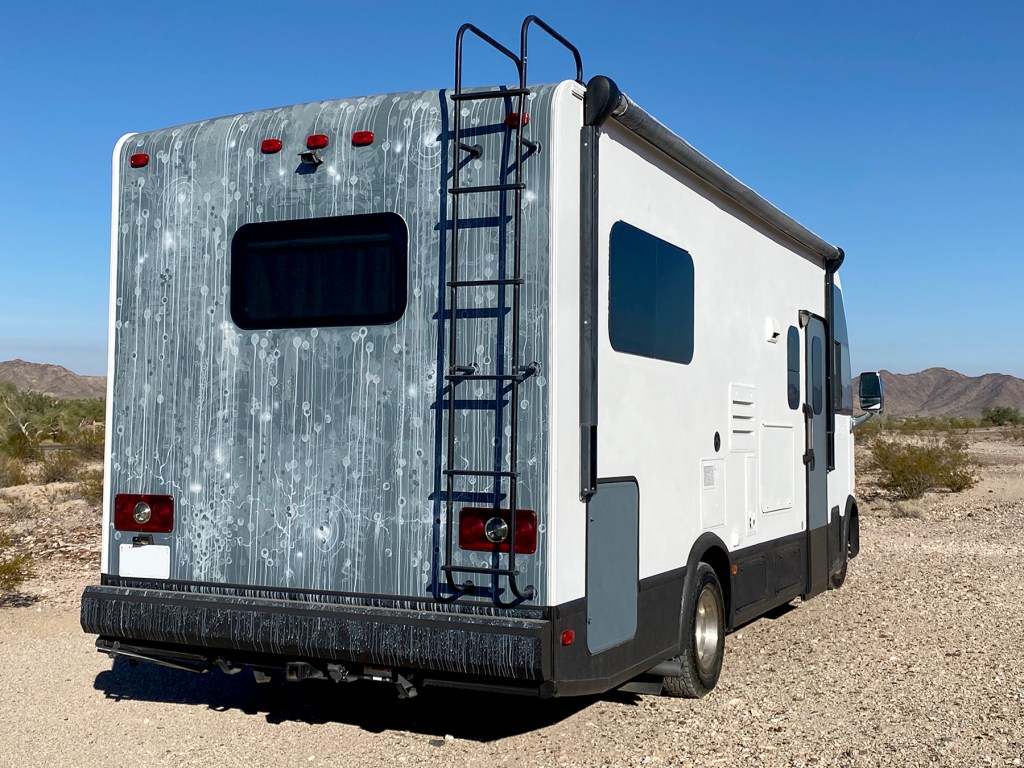
And that’s how it went. One day, I may re-paint the back side with something different because changing things up from time to time keeps the freshness going. After all, change is the only constant in life.
Total cost? Approximately $250.
______________________________________________________
* All text and images are copyrighted and protected by copyright laws. Use or reproduction of any kind are prohibited. All rights reserved. © 2019 Carolyn Quan / The Happy Little Bird / Dream World Media LLC.


You must be logged in to post a comment.